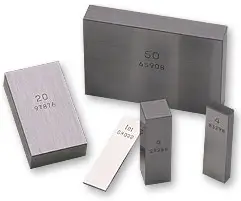
Slip Gauges are known as Gauge Blocks. They are Precise Measuring instruments. These Slip Gauges are universally accepted end Standard of length.

You know, Johanson first introduced the slip gauges, so they can be called as Johanson gauges as well. And he is a Sweedish Engineer.
Construction of Slip Gauge / Gauge Blocks / Johanson gauges
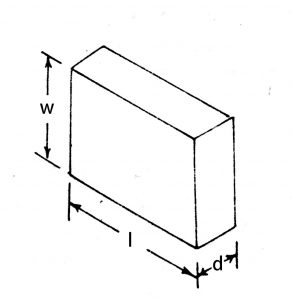
- Slip gauges are rectangular in shape made up of high-grade steels with very close tolerances.
- The Working faces of any slip gauge will be made truly flat and parallel.
- The slip gauges will undergo Hardening to resist wear and tear.

- They will be further heated and cooled down successively to remove the hardening stresses induced during the hardening Process.
- The Slip Gauges can be made up of Tungsten Carbide because of it is extremely capable of hard and wear resistance.
- The size of the slip gauges is permanently marked on any of the measuring faces of individual slip gauge.
Making up a dimension With Slip Gauges
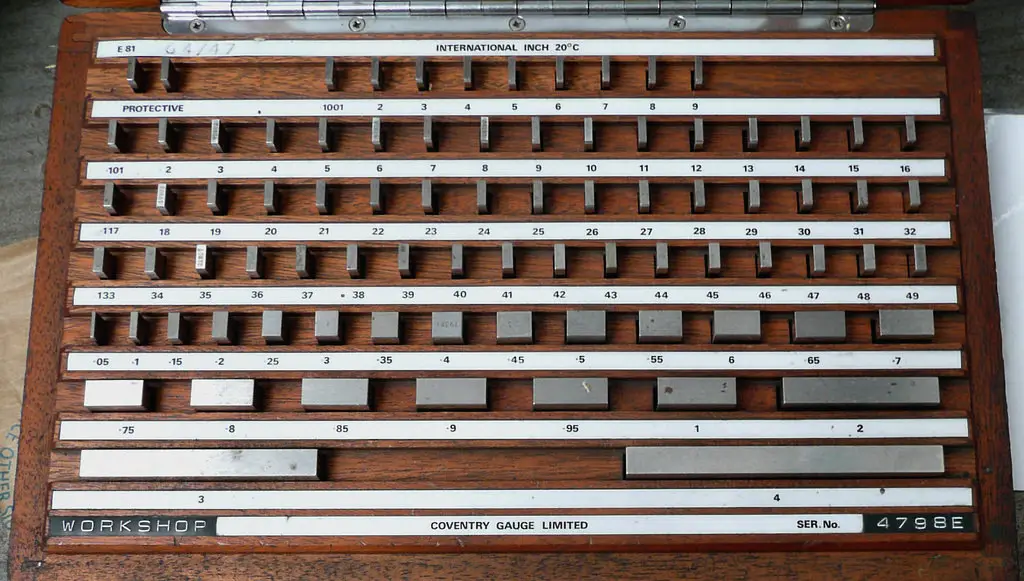
The Slip gauges come in a number of sizes. The sizes will be marked on the measuring faces. See the Slip gauges Box

These slip gauges will be Wrung together to make a dimension.
Wrung? Wringing? You know what it is meant?
It is nothing But joining by sliding truely flat faces one on another to remove liquid on their faces. Let’s see how can we deal with it in the slip gauge.
Wringing of Slip Gauges
- Before using slip gauges the faces should be cleaned
- Slide the one slip gauge over the other(With 90° as shown in the Fig: Pos2) with lite pressure. This way we can expel the air between the slip gauges faces.
- Once placed the one gauge 90° to another gauge by using lite pressure, then rotate it by clockwise to make them in line as shown in below figure. (fourth position)

- This wringing will helps to achieve a dimension by summation of the individual size of slip gauge. the need of clamping is also avoided.
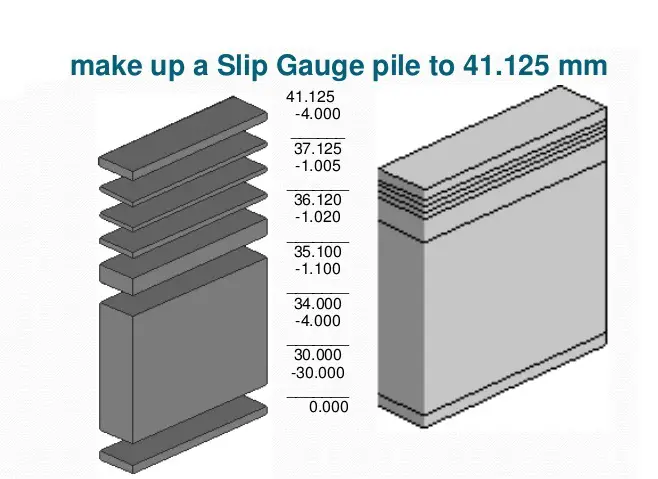
To make any dimension with slip gauges, we will Wring set of slip gauges to achieve the true dimension. See the following Example.

Uses Of Slip Gauge
- Setting up a comparator to a specific dimension
- Direct Precise measuring purpose.
- To inspect the Vernier Calliper, Micrometers and some other linear measuring instruments.
- Conjunction with sine bar to measure the angle of the workpiece.
- Used to Check the distance between the parallel faces.
Images Credits: Slide share, Flicker.


Leave a Reply