In Metrology The least count of an instrument is the smallest change in the value that can be measured with the measuring instrument.
Least count for Steel Ruler
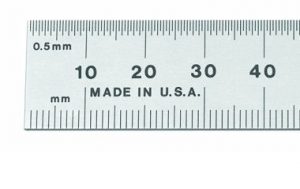
For example in a Steel Ruler, there are twenty divisions between each 10-millimetre scale reading. So the least count for this steel ruler is 0.5 millimetre.

The formula for the least count of any scale = Scale reading/Number of Divisions On the Scale = 10mm/20 = 0.5mm
Least count for Vernier caliper
(See full article about Vernier Caliper )
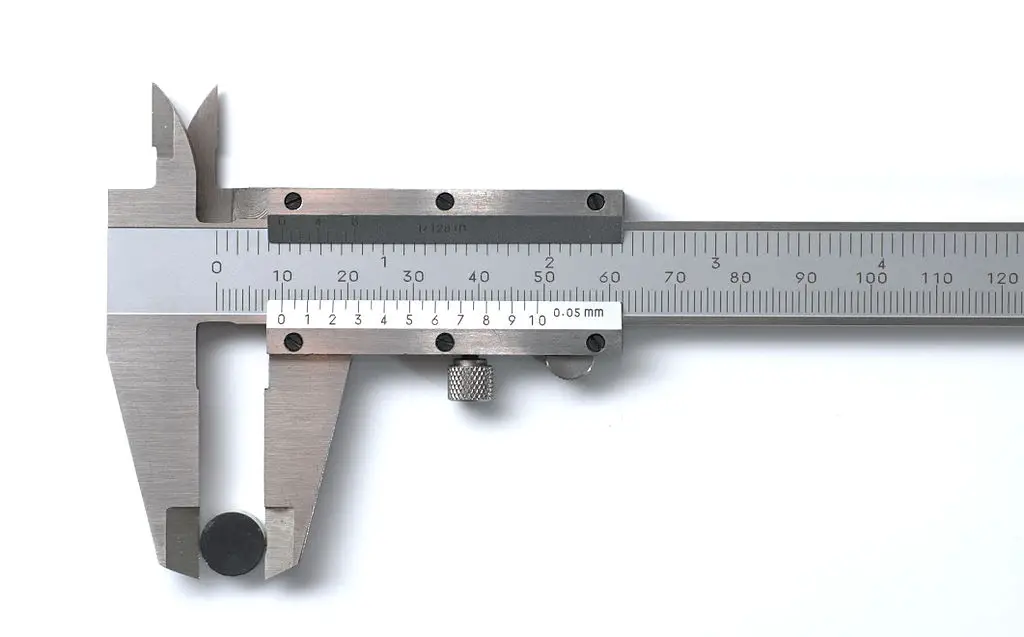
In vernier scale, there are two scales, one is the main scale and the second one is vernier scale.
Least count for Vernier caliper = Least count of main scale/Number of divisions on the vernier scale.
Least count Of the main scale = Scale reading/Number of Divisions On the Main Scale = 10mm/10 = 1mm
number of divisions on the Vernier Scale = 20 divisions
Least count for Vernier caliper = 1mm/20 = 0.05mm
usually, the Vernier scale is available with the least count of 0.02mm
Few other Instruments least counts
Micrometer least count is 0.01mm
The least count for a stopwatch is 0.1 second (But the chance of Least count error is very high in Stop situation)
The least count for protracter is 1°
“The value of least count is less, the more precise the instrument is”
Least Count Error
The least count error is that When a measurement falls between two divisions, then the approximate measurement made by the observer. when the instrument shows a mean position between the two divisions then the observer has to take the mean position as the approximate measurement.

In above, the measurement of the object, it is shown between two division lines, so then the observer needs to take the approximation for the measurement.
The object length would be 19.5 millimetres in the above case.
Likewise, the approximate value should be closer to the true value.


Gjb
Pietep least count ?